Garlic, the plant that’s been used both as a cooking ingredient and as a natural remedy, for thousands of years. In some Asian cultures, it is believed that garlic can drive away evil spirits. And we all know the stories from the other side of the world, where garlic is “a powerful weapon” against vampires.
However, its powerful anti-inflammatory, antibacterial and antioxidant properties are not fictional; they’re real. The secret behind these medicinal effect lies in a sulfur compound called allicin. It’s formed whenever a clove of garlic is crushed, chopped or chewed, and also gives garlic its distinct smell.
Table of Contents
Some of the health benefits when consuming garlic are:
- Lower blood pressure
- Improved cholesterol levels
- Reduced risk and maybe even preventing Alzheimer’s disease and dementia
- Supports bone health
- Improved longevity
- Organs are protected from heavy metal toxicity
- Strengthens the immune system
With all these positive effects to your health, you may want to grow your own garlic, since the majority of garlic sold in grocery stores has been chemically treated. And the fun part about it, you can grow garlic both indoors and out, and we are going to show you how to do it!
Growing garlic outdoors
According to most experts, it’d be best to plant the cloves in the fall – that way they tend to produce better and larger bulbs. But, planting them in late winter or early spring is also appropriate.
The part of your garden where you’ll plant the garlic should get full sun, while the planting bed should be at least 12 inches deep. At the bottom of the planting bed, add a 1-inch layer of mature compost. Before planting, break the garlic bulbs into cloves and poke them into the ground with their pointed ends up, at about 4 inches deep.
Make sure there’s about 6 to 8 inches of space between each clove. At the end of this process, cover the area with 3 to 5 inches of organic mulch, you can use shredded leaves or straw.
Moisture is essential for a proper growth, so water your planted cloves regularly. However, don’t overdo it, too much water can easily make the cloves rot.
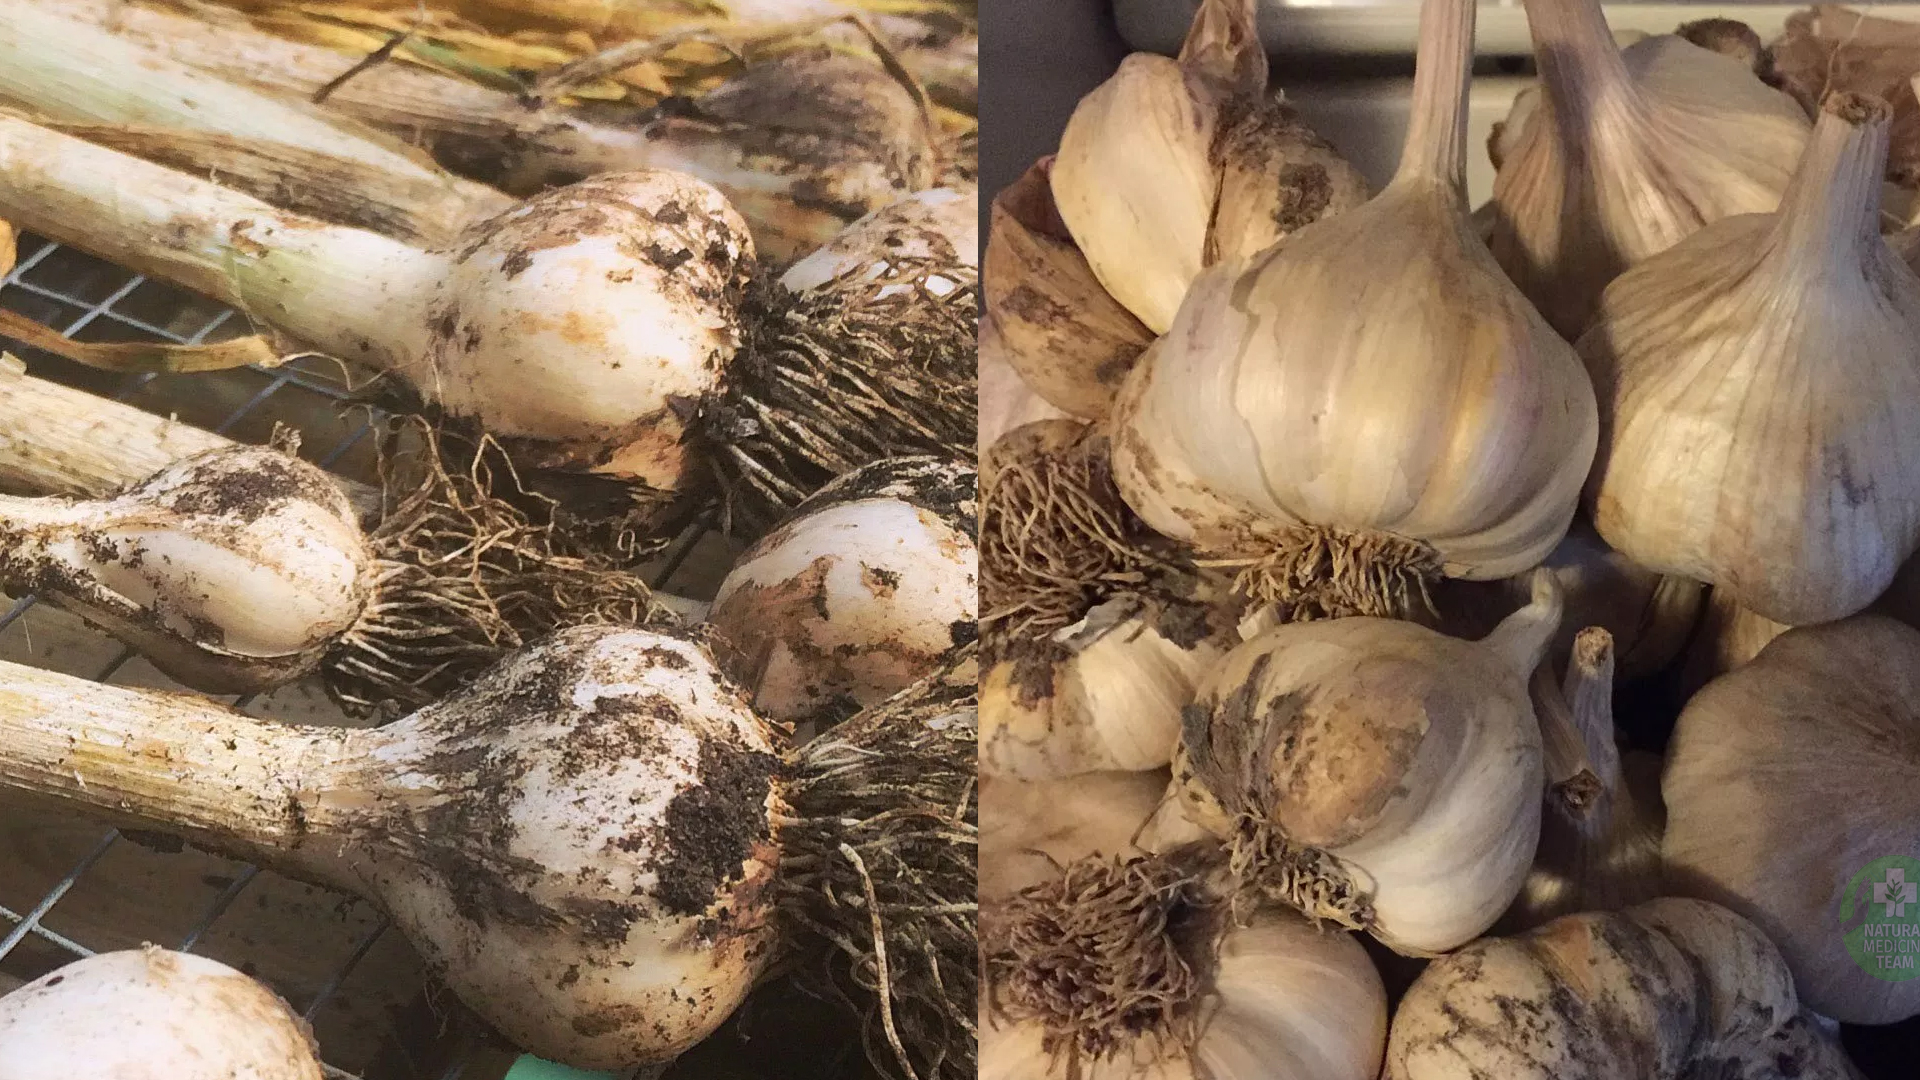
When the soil is dry and the leaves have started to appear withered and pale, it’s time for a harvest. Pull out your bulbs with a digging fork after you’ve loosened up the soil, and be gentle with them to avoid bruising them. After you’re done harvesting, wash the garlic and let it dry under the sun for a couple of days.
Growing garlic indoors
The primary asset when growing garlic indoors is a container that’s at least 8 inches deep and has holes for drainage. Another condition for the container is to be large enough to enable planting the cloves 4 inches apart and 4 inches from the side.
After filling the container with potting soil, push each clove into the soil with the pointed end facing up. Leave about 1 inch of soil between the top of the clove and the surface of the soil. The container should be placed in an area that gets a lot of sunlight – about 8 hours every day, your kitchen windowsill may be a good start.
Keep the soil moist, the warmer your home is, the more often you’ll have to water. Water it evenly and allow the soil to drain through the holes in the bottom of the container. When the greens have grown 3 to 4 inches clip them, but leave about an inch for regrowth.
This is a trick that makes the bulb bigger. When the plant starts to turn pale and dry up, gently dig up your fully formed bulbs. After you’re finished, find some cool and dry place, like a basement for example, and leave it from 3 to 7 days to dry it completely.